C-Max Tire
When you're faced with a flat tire, knowing how to fix a flat tire with a plug kit can be a lifesaver. According to John Smith, a tire repair expert with over 15 years of experience, "A plug kit can turn a frustrating situation into a quick fix." This straightforward approach empowers many drivers. You don’t need to be a mechanic to handle it.
Using a plug kit isn't just about plugging a hole. It's about understanding your tire's condition. Take time to assess the damage. If the damage is severe, reparations might not suffice. The steps in this process invite some reflection. Have you double-checked your kit? Many overlook essential tools included in the kit.
Knowledge of how to fix a flat tire with a plug kit gives you more confidence on the road. Yet, consider that a quick fix isn't always a permanent solution. Regular maintenance and inspections are crucial. A temporary repair might lead to bigger issues down the road. Stay aware and proactive.
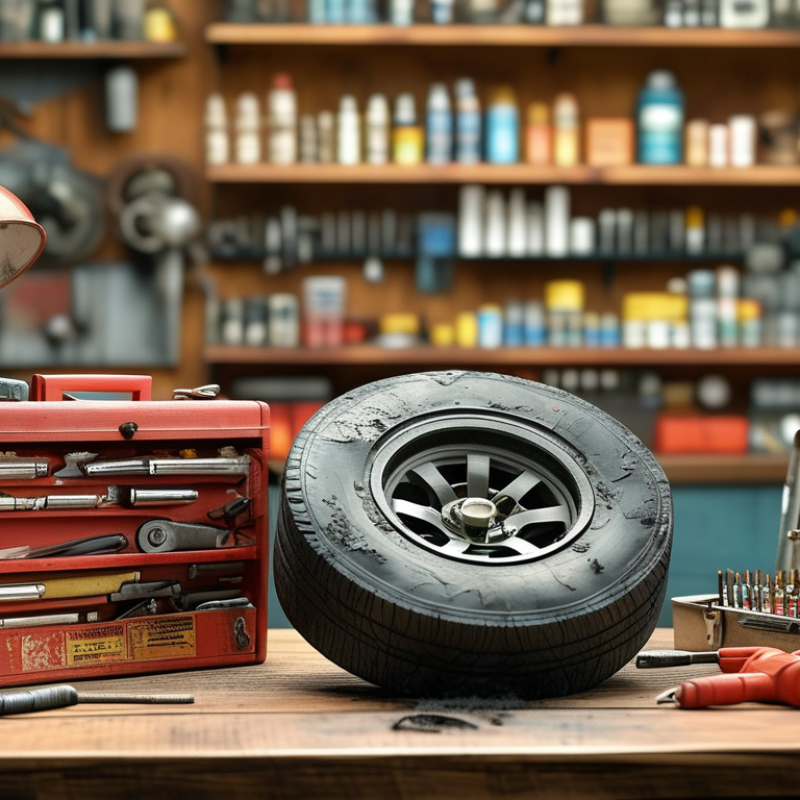
When facing a flat tire, having the right tools and materials is essential for an effective repair. A tire plug kit is a convenient solution, but ensure you gather everything before you begin. You'll need a tire plug, a reamer tool, a plugging tool, and a tire gauge. Additionally, a pair of gloves and a flashlight can be helpful, especially in low-light situations. According to industry data, flat tires are one of the leading causes of roadside assistance requests, making this knowledge invaluable.
The process begins by finding the puncture. Inspect the tire closely for visible damage. A study from the American Automobile Association (AAA) shows that about 70% of tire failures occur due to punctures. Ensure the area around the puncture is clean and dry. If you’re not prepared, this can lead to a poor seal and even more frustration later. After prepping, carefully insert the reamer to clean the puncture before inserting the plug. This step is crucial—a study in the Journal of Automotive Research emphasizes that proper preparation significantly reduces the risk of future leaks.
While repairs can be straightforward, they aren’t always perfect. It’s worth reflecting on your technique after each attempt. Were you able to find the puncture quickly, or did it take longer than expected? The time spent prepping often impacts the final result. Remember, keeping a tire plug kit handy can save time and hassles on the road. Balancing ease of use with thoroughness is key to a successful tire repair.
Identifying the location and nature of a flat tire is crucial for effective repair. Begin by inspecting the tire for visible damage such as punctures, cuts, or bubbles. A 2022 study by the Rubber Manufacturers Association highlights that 70% of tire failures are caused by improper inflation. Check the tire’s tread depth and wear patterns; uneven wear could indicate other issues.
If you're on the roadside, a simple method is using a soapy water solution to pinpoint air leaks. Bubbles will form at the puncture site. This quick test ensures you address the right area. Remember, addressing the nature of the damage — whether it's a small puncture or a sidewall issue — is vital because not all damage can be repaired with a plug kit.
Before using the plug kit, prepare yourself. Ensure the surrounding area is clean. A dirty surface can hinder the plug’s effectiveness. When in doubt about your skills, seeking professional help might be a wise choice. Excessive DIY can sometimes lead to imperfect fixes, posing safety risks. Always reflect on whether you’re comfortable handling the repair yourself. Your safety is paramount.
| Step | Action | Tools Needed | Estimated Time |
|---|---|---|---|
| 1 | Identify the Flat Tire | Visual Inspection | 5 minutes |
| 2 | Locate the Leak | Water, Soap, or Tire Sealant | 10 minutes |
| 3 | Prepare the Plug Kit | Plug Kit | 5 minutes |
| 4 | Insert the Plug | Plug Installer Tool | 10 minutes |
| 5 | Trim Excess Plug | Scissors | 5 minutes |
| 6 | Reinflate the Tire | Air Compressor | 10 minutes |
| 7 | Check for Leaks | Water or Tire Sealant | 5 minutes |
When dealing with a flat tire, the first step is to prepare it for repair. Begin by ensuring safety first. Move the vehicle to a secure location away from traffic. Turn on hazard lights and set the parking brake. Assess the tire visually. Look for punctures, cuts, or anything stuck in the tire. Data from the Rubber Manufacturers Association indicates that nearly 80% of tire failures are caused by underinflation or damage that goes unnoticed.
Once you've confirmed the presence of a puncture, examine the size and location. A small nail or screw found in the tread area may be repairable. However, if the damage is on the sidewall or if the puncture exceeds a quarter-inch in diameter, the tire may not be salvageable. According to industry standards, repairs should only cover holes up to 0.25 inches in diameter and must not exceed the tread depth.
After assessing the tire, remove any debris carefully. Use pliers if necessary. It’s crucial to understand that an improper assessment can lead to further issues later on. A punctured tire can lose air quickly, leading to unsafe driving conditions. Research shows that tires that are not repaired correctly lose performance and safety over time. Always keep safety a priority when considering repairs.
To fix a flat tire, you need to focus on sealing the leak effectively. Start by locating the puncture. Use a flashlight if needed. Once you identify the hole, clean the area around it. This step is crucial for ensuring the plug adheres correctly. A dirty surface may lead to failure and a slow leak later.
Insert the plug from your kit into the provided insertion tool. Push it into the puncture firmly until roughly half of the plug is inside the tire. This ensures a good seal. Removing the tool can be tricky, but a quick pull will do. Take care not to yank too hard, as this can damage the plug.
Tire repairs require attention to detail. After sealing, reinflate the tire. Check for leaks by listening or applying soapy water around the patch. Bubbles indicate air escaping, requiring further inspection. Be vigilant; a poorly done repair can lead to blowouts later. Always trust your instincts if something seems off. Regularly check your tires and maintain proper air pressure. This habit can prevent flats in the future.
After successfully plugging a flat tire, the next critical step is reinflating and ensuring a proper seal. According to the Tire Industry Association, a correctly sealed tire can maintain pressure more effectively and reduce the risk of future leaks. The optimal pressure for most passenger car tires typically ranges from 30 to 35 PSI. Using a reliable air compressor or tire inflator is essential to achieve this level of pressure accurately.
Once you've reinflated the tire, perform a careful inspection for leaks. A simple method is to apply a soap and water solution on the surface where the plug was inserted. Bubbles forming indicate air leaks that need attention. The National Highway Traffic Safety Administration suggests checking for leaks at least weekly. This practice can enhance safety and prolong the life of your tires.
It’s important to understand that not all plug repairs are permanent fixes. The repair may not always hold up under high speeds or extreme conditions. If the air pressure fluctuates in the following days, it’s a clear sign that further evaluation is necessary. Industry reports indicate that about 30% of DIY tire repairs may fail if not properly monitored. Regular maintenance and inspections are essential to prevent future issues, highlighting the importance of proactive care.
: Inspect the tire for visible damage like punctures or cuts. Check tread depth and wear patterns for issues.
Use a soapy water solution. Bubbles form at the puncture site, indicating the leak location.
A clean surface ensures the plug adheres properly. Dirty areas can lead to repair failures.
Use the insertion tool to push the plug into the hole until half is inside. Pull out the tool quickly.
Reinflate the tire and check for leaks with soapy water. Bubbles indicate you may need further inspection.
No, not all plug repairs are permanent. Conditions like high speeds can affect durability. Monitor regularly.
Check your tire pressure weekly, keeping it between 30-35 PSI for optimal performance and safety.
Consider your comfort level and skills. Excessive DIY can lead to unsafe repairs.
Regular checks can prevent flats. The National Highway Traffic Safety Administration suggests weekly inspections.
Fluctuations indicate a need for further evaluation. It’s a sign that the repair might not hold well.
In the article "How to Fix a Flat Tire with a Plug Kit in Simple Steps," readers are guided through a straightforward process to repair a punctured tire. The first step is to gather all necessary tools and materials, including a plug kit, tire gauge, and a jack. Next, it’s crucial to identify the location and nature of the flat, which will help in assessing the damage accurately.
Once the tire is prepared, the repair process involves inserting the plug to seal the tire leak effectively. After the plug is in place, the tire should be reinflated and checked for proper sealing to ensure it is safe for use. This systematic approach makes it easy for anyone to learn how to fix a flat tire with a plug kit, enabling confidence and independence when faced with tire issues on the road.
